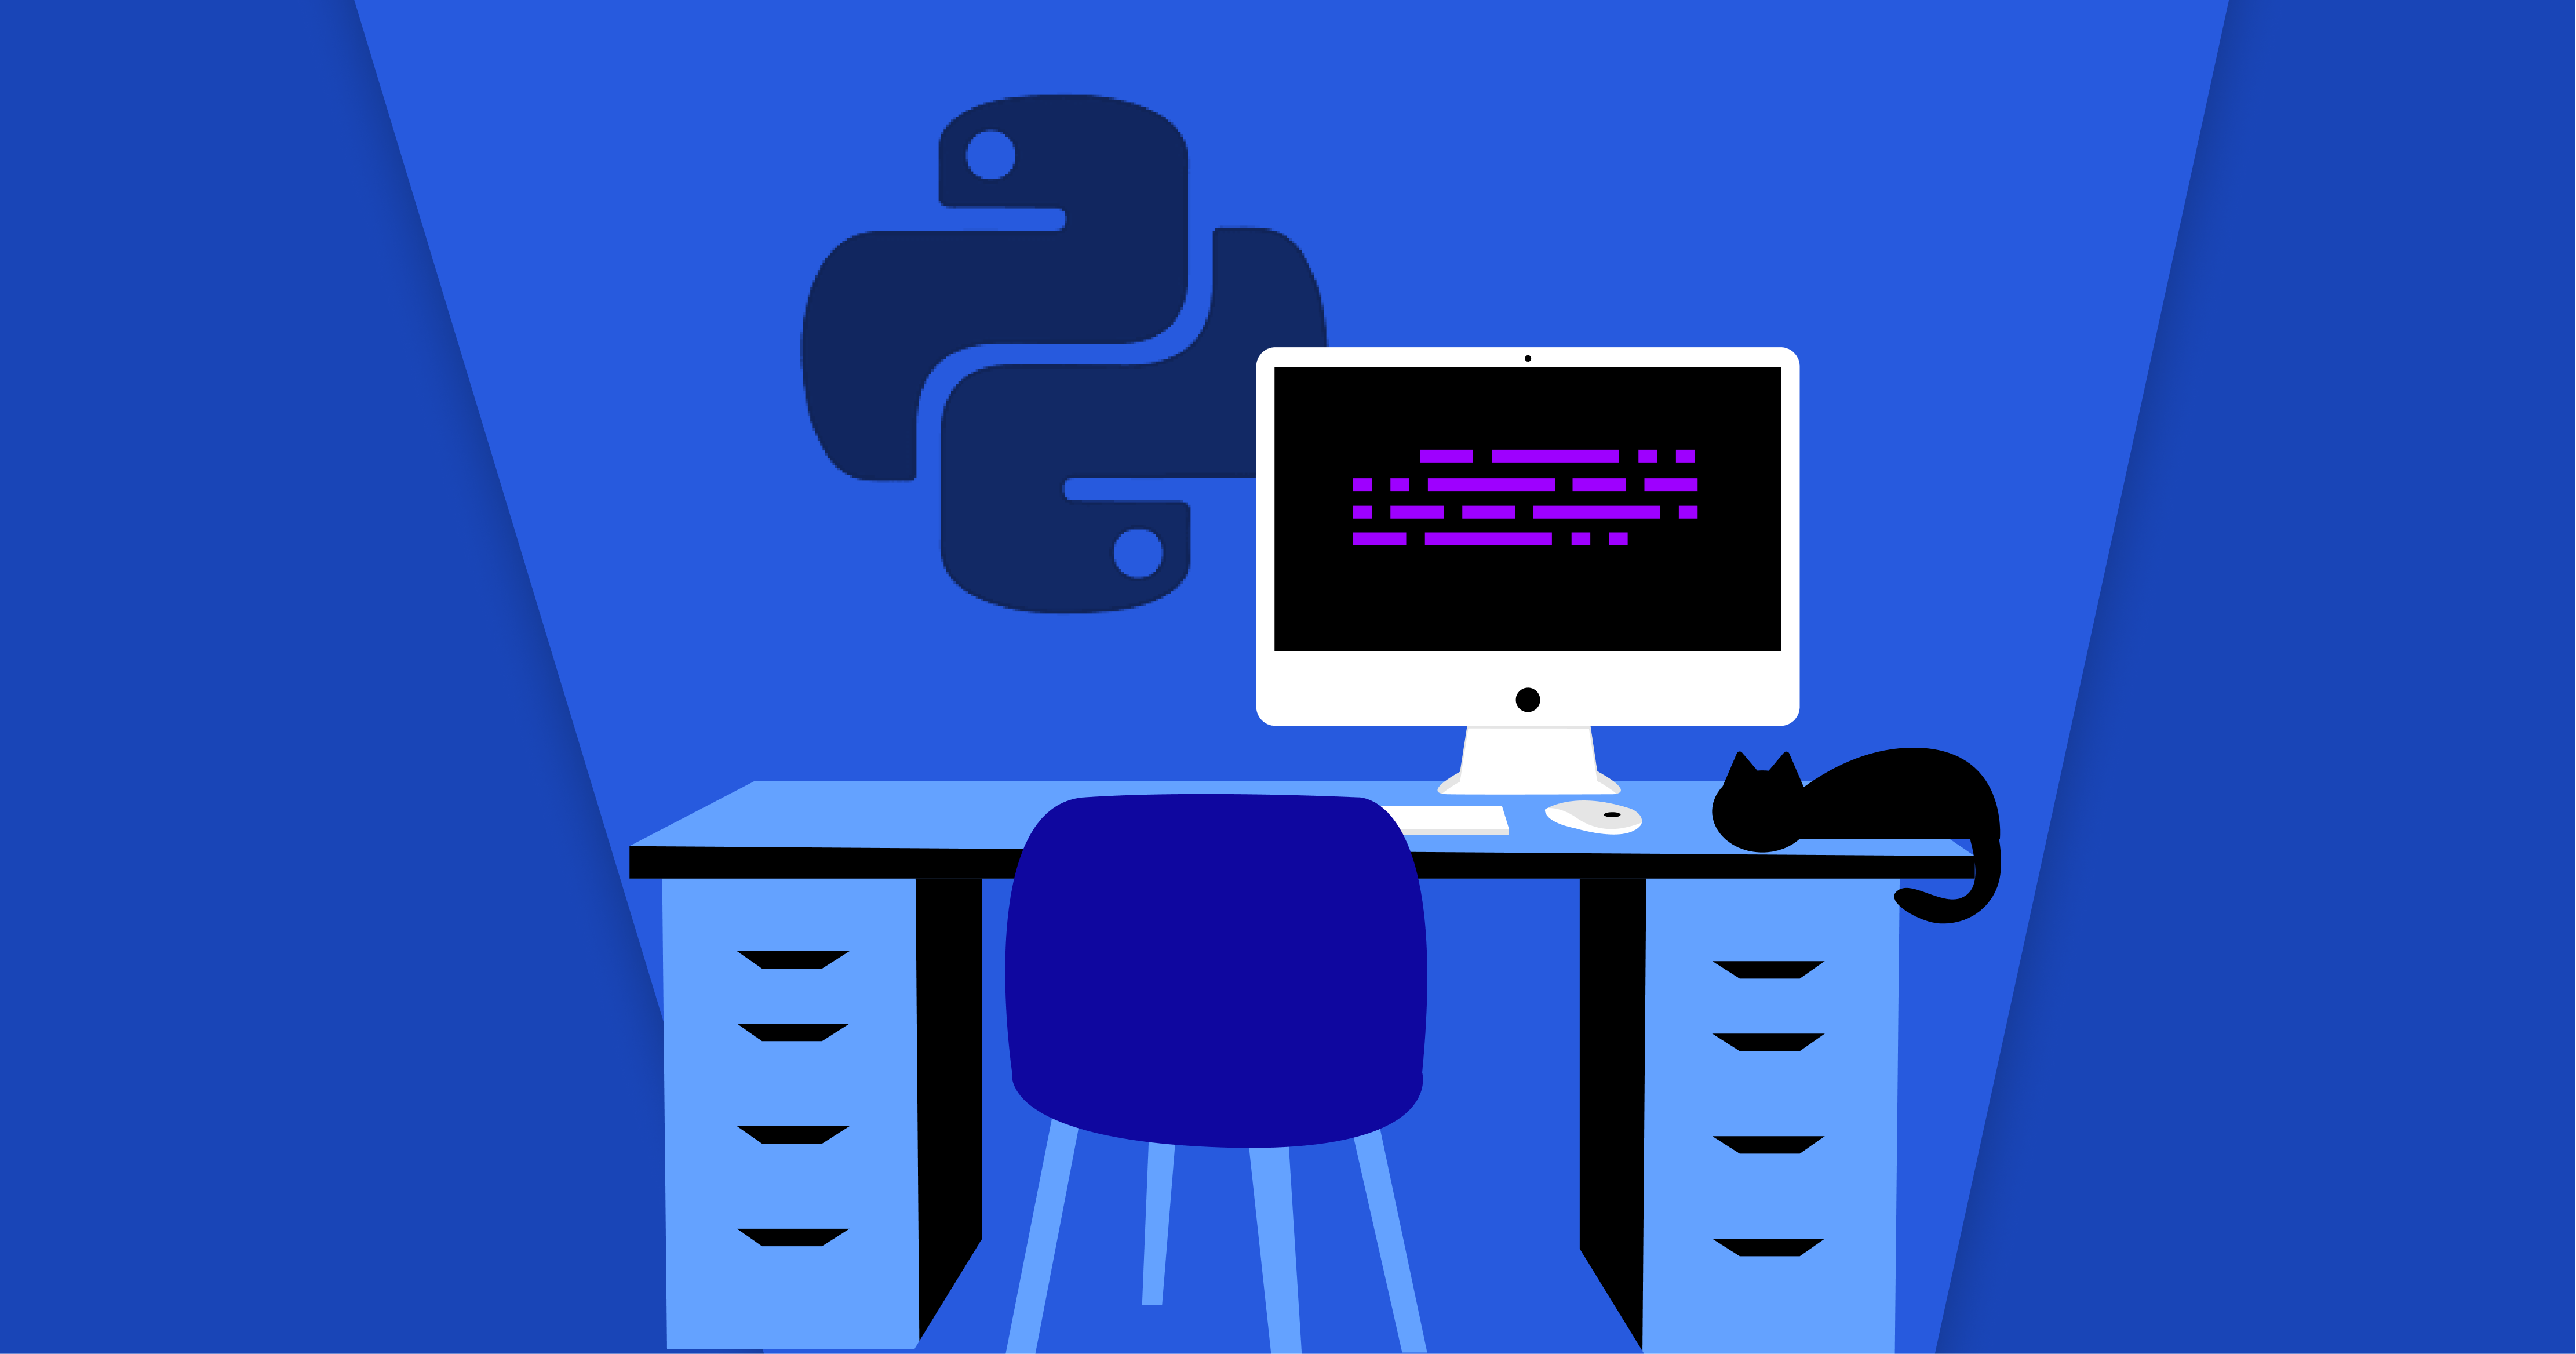
Creating a neural network in Python in 2026: libraries, architecture, and the eight-step build
Creating a neural network in Python in 2026 means PyTorch 2.5 for almost every new build, an eight-step training loop you can rewrite in your sleep, and a habit of starting from pretrained weights instead of from scratch. A vetted ML engineer can take a notebook to a deployed model in two to four weeks, and Gaper places that engineer in 24 hours starting at $35/hr.
PyTorch sits behind roughly 70 percent of new neural network repositories, with TensorFlow, JAX, Hugging Face, and scikit-learn covering the rest.
The standard eight-step build is environment, data, architecture, loss and optimizer, training loop, eval, save, and experiment tracking.
Most production neural networks fine-tune a pretrained model rather than train from scratch on raw weights.
Five pitfalls (un-zeroed gradients, leaked data, no val curve, no seed, hand-tuned hyperparameters) cause most beginner model failures.
Gaper places Top 1% vetted PyTorch and ML engineers in 24 hours with a 2-week risk-free trial.
Why Python Still Owns Neural Network Development in 2026
Creating a neural network in Python is still the default first move for any team building with machine learning in 2026. Python carries the deepest library ecosystem (PyTorch, TensorFlow, JAX, Hugging Face, scikit-learn) and the shortest distance from idea to a trained model on a GPU. The research paper drops with PyTorch reference code, the open weights drop on Hugging Face, the notebooks land on Colab and Kaggle. Everything points back at Python.
A small mental model: roughly 70 percent of new neural network repos use PyTorch, about 20 percent stay on TensorFlow or Keras for production, JAX takes frontier research at scale, Hugging Face sits on top of PyTorch, and scikit-learn owns the tabular baseline.
Figure 1 / Python neural networks in the 2026 ML economy
92%
of new ML repositories on GitHub run on Python
70%
of new neural net code uses PyTorch as the default
1.4M+
Pretrained models on Hugging Face Hub by 2026
41%
YoY growth in posted ML engineer roles in the US
Source figures aggregated from GitHub Octoverse, Hugging Face Hub stats, Papers With Code, and LinkedIn Talent Insights for 2026.
Two shifts changed what “creating a neural network” means since 2023. First, most production networks are now fine-tuned pretrained backbones, not from-scratch weights. A team building a vision classifier is much more likely to fine-tune a ResNet50 or ConvNeXt than to train a CNN from random initialization. Second, the role of Python in large-scale data and ML systems now extends from notebook code to data pipelines, training, and serving, all in the same language. The skill curve a new ML engineer climbs in 2026 looks like NumPy, PyTorch, custom training loops, then distributed training.
The 2026 Python Neural Network Library Landscape
Five libraries cover almost every neural network workflow a beginner or intermediate engineer touches in 2026. PyTorch is the default. TensorFlow is the production-and-mobile bet. JAX is the research bet at scale. Hugging Face is the pretrained-model layer. Scikit-learn is the classical baseline. The visual below sets each library’s relative strength across the dimensions a builder cares about.
Figure 2 / Five libraries across five builder dimensions
PyTorch
Research + prod
TensorFlow / Keras
Prod + mobile
JAX
Scale research
Hugging Face
Pretrained models
scikit-learn
Tabular baseline
Bar lengths represent relative reach across research, production, mobile, scale, and beginner ergonomics. Each library wins a different quadrant.
PyTorch is where most new builders land. The API is Pythonic, the dynamic graph makes debugging easy, and almost every paper drops PyTorch code first. TensorFlow plus Keras is the right pick when you need TFLite for mobile or TensorFlow Serving inside a Google or enterprise stack. JAX is the choice for scaling-law research and LLM pretraining across many TPUs. Hugging Face Transformers sits on top of PyTorch and TensorFlow and is the right entry point when your goal is fine-tuning, not invention. Scikit-learn keeps its place for tabular baselines and the MLPClassifier helper.
The practical rule is simple. Reach for PyTorch unless you have a reason not to. Reach for Hugging Face when you start from a pretrained model. Reach for TensorFlow when the deployment target forces you. Reach for JAX when you scale beyond what eager PyTorch can handle. Reach for scikit-learn when the problem is tabular and a tree or simple MLP will beat a deep network anyway.
The Eight-Step Neural Network Build Sequence
Once you pick PyTorch, almost every neural network you build in 2026 follows the same eight-step sequence. Reorder it and you either leak data, train on the wrong objective, or end up debugging a model that learned nothing. The syllabus below is the canonical version every ML engineer at Gaper internalizes before their first project. Beginner machine learning project ideas usually instantiate this sequence on a small dataset.
Figure 3 / Syllabus, eight modules from zero to trained model
01
Set up the environment
uv or conda, Python 3.12, PyTorch 2.5, CUDA 12.4.
02
Load and split the data
torchvision, datasets, or pandas plus a custom Dataset. Train, val, test splits up front.
03
Define the architecture
Subclass nn.Module, declare layers, write the forward pass.
04
Pick the loss and optimizer
CrossEntropyLoss for classification, MSE for regression. AdamW with a cosine schedule.
05
Write the training loop
Per batch: zero gradients, forward, loss, backward, optimizer step.
06
Add the eval loop
model.eval(), torch.no_grad(), compute val loss each epoch. Watch the val curve.
07
Save and load the model
torch.save(model.state_dict()) at the best val epoch. Reload for inference.
08
Track the experiment
Weights and Biases or MLflow. Log hyperparameters, metrics, artifacts, and the git SHA.
Modules 1 to 5 are the must-have spine. Modules 6 to 8 separate hobby models from production-ready work.
The line every beginner forgets is optimizer.zero_grad() at the top of the loop. Gradients accumulate by default, so skipping the zero step trains on a running sum. The reverse pitfall on module six is leaving model.train() on during evaluation, which keeps dropout and batchnorm in training mode and inflates val loss.
Common Architectures and When to Use Each
Picking the right architecture is about matching the shape of the input to a family of layers that handles it well. Tabular rows belong to feedforward networks. Pixels belong to convolutional networks or vision transformers. Tokens belong to transformers. Noise belongs to diffusion models. Edges belong to graph networks. The five-card layout below is the working taxonomy a senior engineer uses when scoping a new project.
Figure 4 / Five architectures, five matching problem shapes
01 / MLP
Feedforward
Tabular data, regression, classification, embedding heads on a backbone.
02 / CNN
Convolutional
Images, medical scans, video frames. Start from pretrained ResNet50 or ConvNeXt.
03 / Transformer
Attention
Text, time series, audio, vision. The architecture behind every modern LLM.
04 / Diffusion
Generative
Image, audio, video generation. Stable Diffusion, Flux, open weights.
05 / GNN
Graph
Recommendations, molecules, fraud rings. PyTorch Geometric is the toolkit.
Match the input modality to the architecture family before you write a single layer. The wrong family wastes weeks of training time.
A beginner mistake is to assume every problem deserves a transformer because the news cycle keeps repeating the word. It does not. A regression problem with twelve numeric columns and 10,000 rows is a four-layer MLP plus regularization, not a 12-layer transformer that overfits in three epochs. The principle is to start with the smallest architecture that fits the data shape, then move up only when val performance plateaus.
For most production teams in 2026, the architecture decision collapses into a simpler question: which pretrained checkpoint do I start from, and how do I adapt it. A vision team picks a ConvNeXt or DINOv2 backbone. A text team picks a Llama 3, Mistral, or Qwen checkpoint, optionally with LoRA or QLoRA. An audio team picks Whisper. The library that makes all of this routine is Hugging Face, which is why almost every real-world AI project built in the last 18 months starts on the Hub.
Beginner Pitfalls That Tank Performance
A working neural network is not built by writing more lines of code. It is built by avoiding the seven recurring mistakes that turn a clean PyTorch script into a model that looks like it is training but is actually broken. The rule book below is the post-mortem checklist Gaper engineers run on any beginner notebook before they spend GPU time.
Figure 5 / Seven recurring pitfalls, ranked by severity
01
Forgetting to zero gradientsCritical
Gradients accumulate by default. Skip optimizer.zero_grad() and the loss never converges.
Tune on val, evaluate on a held-out test set. Fit scalers and tokenizers only on train.
04
Overfitting unmonitoredHigh
Plot train and val loss together. When val climbs while train falls, stop and regularize.
05
Skipping mixed precisionHigh
torch.amp.autocast plus GradScaler doubles batch size at no accuracy cost.
06
Hand-tuning hyperparametersMedium
Use Optuna or Ray Tune. Twenty automated trials beats a week of guessing.
07
No random seedMedium
Set torch.manual_seed, numpy.random.seed, and your DataLoader worker_init_fn.
Rules 1 to 3 are red flags. Rules 4 and 5 are wasted compute. Rules 6 and 7 are professionalism. Fix the top three before anything else.
A useful pre-flight ritual: print the model, a sample batch, the model output, and the loss before starting the loop. If any print surprises you, fix it. The same pattern applies when building trading models in Python, where silent shape mismatches and label leakage are the most expensive errors.
From Tutorial to Production: When to Hire Help
Creating a neural network in a notebook is the easy 20 percent of the work. Turning that notebook into a system that retrains on new data, serves predictions under load, and monitors drift is the other 80 percent, and that is where most teams stall. The four stages below show how a model moves from a tutorial to a production system. Each stage adds a failure mode the prior stage did not have to think about, which is why production work usually needs a different engineer than the one who wrote the prototype.
Figure 6 / Tutorial to production, four stages
01
Tutorial
Notebook, one GPU, fixed dataset. Goal: it learns something.
02
Prototype
Scripted training, val and test split, W&B logging, reproducible runs.
03
Pilot
FastAPI inference endpoint, batch inference job, light monitoring, 1% of real traffic.
04
Production
CI/CD, drift monitoring, scheduled retraining, on-call rotation, full traffic.
Most failed ML projects stall between stage 2 and stage 3. That gap is where the engineering effort dwarfs the modeling effort, and where hiring matters most.
For a small team trying to build past stage 2, the math on hiring is decisive. A US senior ML engineer carries a $250,000 to $400,000 fully loaded annual cost and a four to six month hiring cycle. An on-demand vetted PyTorch engineer through Gaper’s vetted Python developer pool starts at $35/hr, lands in 24 hours, and works against a 2-week risk-free trial. For teams moving from tutorial to pilot in six to eight weeks, the on-demand path is the only one that fits the calendar.
Gaper’s network includes engineers who specialize in PyTorch, fine-tuning, distributed training, vector databases, and serving. For AI-first products you can lean on Gaper’s dedicated AI engineering pool through vetted AI engineers for hire, staffed by people who have shipped neural networks into production across healthcare, fintech, and B2B SaaS. The same network fields full ML teams when you need a Gaper on-demand engineering team for a 12 to 16 week production push. Sectors moving fastest in 2026 are healthcare AI (Kelly), AI accounting (AccountsGPT), HR automation (James), and marketing intelligence (Stefan), all of which use neural network components under the hood.
What Is Next for Neural Network Workflows in 2026 to 2027
Three shifts are reshaping how teams build neural networks over the next 18 months. The first is the consolidation of training infrastructure around opinionated frameworks (PyTorch Lightning, Hugging Face Trainer, Accelerate) so that custom training loops become the exception. The second is the maturity of parameter-efficient fine-tuning (LoRA, QLoRA, DoRA) which moves the unit of work from training a model to patching a base model. The third is agent-driven workflows that wrap neural networks inside multi-step planning loops, turning a single inference call into a sequence of grounded actions.
Figure 7 / Three shifts to watch through 2027
01
Opinionated training frameworks
Lightning, Trainer, Accelerate replace the bespoke training loop.
02
Parameter-efficient fine-tuning
LoRA, QLoRA, DoRA push 70B adaptation to a single GPU. Training becomes patching.
03
Agent-wrapped models
DSPy, LangGraph, AutoGen turn one network into grounded tool calls.
The skill question for a new ML engineer in 2026 is no longer “do you know PyTorch”, it is “do you know which framework wraps PyTorch best for your problem”.
The takeaway for a beginner is reassuring. The fundamentals (tensors, autograd, the eight-step loop, the loss and optimizer choice) are not going anywhere. The wrappers on top will keep changing, but the spine of creating a neural network in Python in 2027 will still look like the spine you learn today. The fastest way to keep up is to ship one model end to end, then replace one layer of the stack at a time. Gaper’s learn AI hub tracks each wave as it lands.
8,200+
Engineers in Our Network
24 Hours
to Assemble Your Team
$35/hr
Starting Rate for Vetted Engineers
2-Week
Risk-Free Trial Guarantee
Frequently Asked Questions About Creating a Neural Network in Python
What is the best Python library for creating a neural network in 2026?
PyTorch is the best Python library for creating a neural network in 2026 for most teams. About 70 percent of new neural network repositories use PyTorch, research papers release PyTorch code first, and the API is friendly for beginners and powerful in production. Choose TensorFlow for mobile or a Google enterprise stack. Choose JAX for pretraining at TPU scale.
Hugging Face Transformers sits on top of PyTorch and is the right starting point when you fine-tune a pretrained model. Scikit-learn covers tabular baselines.
How long does it take to learn how to create a neural network in Python?
A working Python developer needs 4 to 8 weeks of focused practice to build their first neural network end to end. That covers the PyTorch tensor and autograd API, the eight-step training loop, and one applied project like MNIST or a small text classifier. Going from training a model to shipping one takes another 3 to 6 months of project work, mainly on data, evaluation, and deployment.
Most learners overestimate the math required and underestimate the engineering. The math you actually need is linear algebra basics, a working sense of gradients, and probability fundamentals.
Should I write a neural network from scratch or use a pretrained model?
Write a small neural network from scratch in NumPy or raw PyTorch exactly once as a learning exercise. After that, almost every real project should start from a pretrained model and fine-tune. A pretrained ResNet50 beats a from-scratch CNN on most vision problems by 10 to 20 points of accuracy while saving days of training time. The 2026 norm is fine-tuning, not from-scratch training.
Exceptions are frontier architecture research, novel domains where no pretrained checkpoint exists, and small networks under one million parameters where pretraining offers no advantage.
What GPU do I need to create a neural network in Python in 2026?
You do not need a local GPU to create a neural network in Python in 2026. Google Colab provides free T4 GPUs and a Pro tier with A100 access for $10/month. Kaggle gives 30 hours weekly of P100 time at zero cost. Locally, an RTX 3060 (12GB) handles beginner projects and parameter-efficient fine-tuning of 7B language models. An RTX 4090 (24GB) covers most intermediate work.
For serious workloads, rent A100 or H100 instances on Lambda, RunPod, or Vast.ai by the hour at $3 to $5 each. Cheaper than a $4,000 workstation if you train infrequently.
When should I hire an ML engineer instead of building the neural network myself?
Hire an ML engineer when you need to move from a working notebook to a production system that serves real traffic, retrains, and monitors drift. The notebook is the easy 20 percent. Production is the other 80 percent and usually demands a different engineer than the one who wrote the prototype. Gaper places vetted PyTorch engineers in 24 hours, starting at $35/hr, with a 2-week risk-free trial.
Also hire when the deadline is tighter than the learning curve. A $35/hr senior ships in two weeks what an upskilling team takes three months to deliver.
Ready to ship your first neural network without the hiring delay?
Gaper places Top 1% vetted PyTorch engineers in 24 hours so your neural network moves from tutorial to production without a four-month hiring cycle. The 2-week risk-free trial means you only pay if the engineer is the right fit.